Design and content in ePages Now: The most important updates of the last months
Because customer needs are always evolving, an online shop is never really finished. That’s why ePages Now constantly offers new features and functionality that merchants can use to improve the shop and offer customers more convenience.
In this article, we’ll show you new possibilities in terms of shop design and content. These options are already available to you as an ePages Now merchant.
If you as a merchant want to edit the design or content of your shop, this is done in the administration area of the shop, using the editor. The editor serves two purposes:
- Manage the pages of your shop by adding content elements to them such as text, images, or videos.
- It also provides various design options that can be used to further customise the design of your shop.
Below you can read more about the most important editor news of the last months.
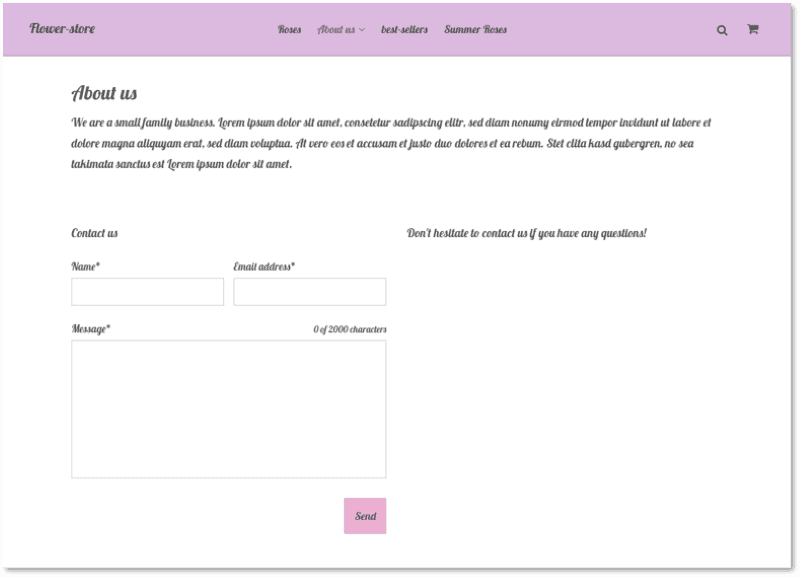
A contact form in the shop
Creating a contact form
Many merchants have requested this feature: It is now possible to add a contact form to any content page of the shop with just one click. Your customers can thus contact you quickly and easily via email. The form contains fields for the customer’s email address, name and message.
To add a contact form, simply call up a page in the editor and drag the content element Contact form to the desired location – done!
The mails that are sent via the form will be received by the email address specified in your shop, which you can change in the administration area under Settings >> General.
After submitting the form, the customer will see a confirmation that his message has been sent.
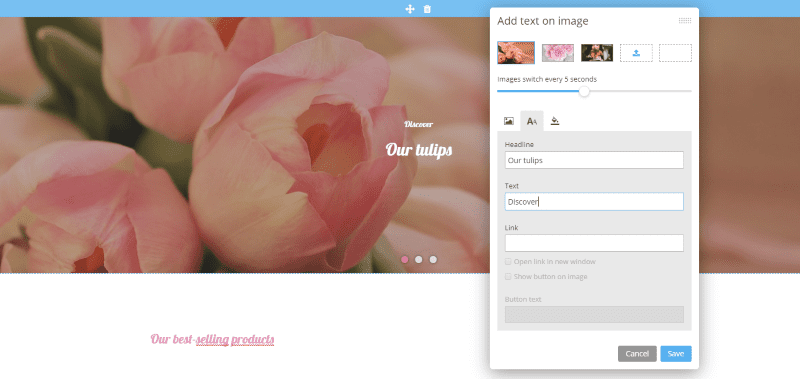
Adding text and buttons to images
Displaying texts and buttons on images
If you display texts and buttons on images of your shop, this can not only convey important information to your customers in a prominent way but also can look attractive.
Instead of including these elements directly in the image files, the texts and buttons can be easily added in the editor. For example, you can include a large-format image on the homepage of your shop and display a headline and text on it. Both are then recognised by search engines and can therefore be advantageous to the search engine optimisation (SEO) of your shop.
You can also display buttons on images. These are also referred to as a “call-to-action”. Button texts such as “Shop now” are often used, but there are no limits to your imagination. You can determine the colours of these elements and with a colour overlay ensure that the texts on the image are even easier to read. Thanks to our default settings, all changes will fit perfectly to the design theme you have chosen and will be displayed optimally on all end devices. You will find instructions for this in our help article on this topic.
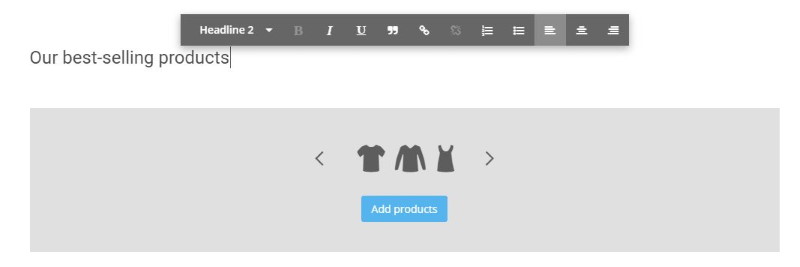
The product slider in the editor
Display products with the product slider
In your ePages Now Shop, an overview of your products is displayed primarily on the start page and the category pages. The product slider is a content element that allows you to display a variety of products on the start page, the content pages and also the category pages.
After you add the element to a page, you can specify which of your products should be included in the slider. The product slider can display up to 12 products.
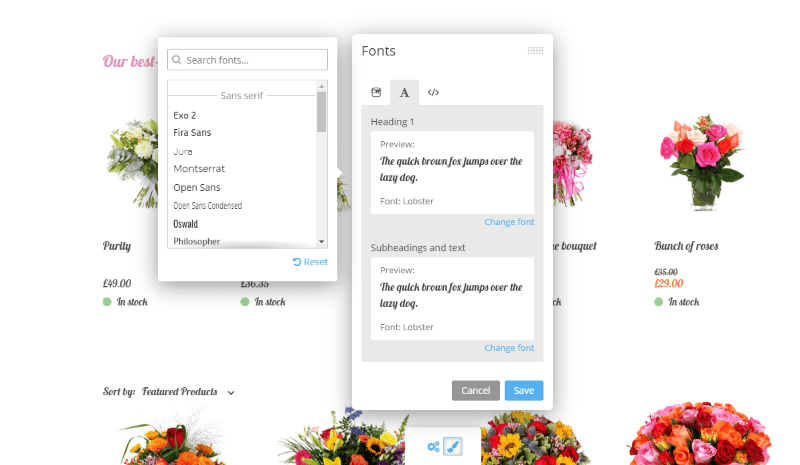
Selecting the fonts for the shop
Change fonts and colours
The fonts and colours of the shop are predetermined by the selected design theme. In the editor you can now change the font colours of texts in content elements. For example, when you use the editor to add a heading or text, you can also decide the colour.
In addition, you can choose from a variety of different fonts, so that you can find exactly the right look for your brand identity. You can specify the fonts for headlines as well as for subheadings and texts. All available fonts are perfectly suited for desktop computers and mobile devices.
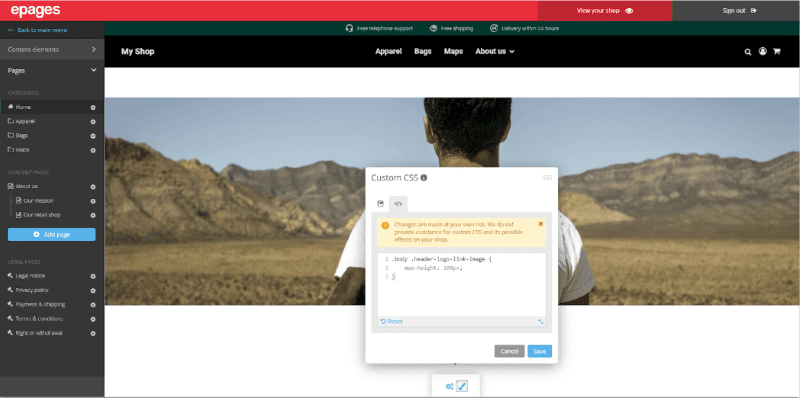
By adding custom CSS code, merchants can modify their shop’s design in various ways
Own CSS code
A change that has been available for some time: Experienced users have the possibility to enter their own CSS code in the editor and thus modify the design of the shop. In addition to changing colours and fonts, which is already possible with the editor’s on-board tools, there are also many other modification options. For example, elements can be made invisible.
Please note that changes to the CSS code can have negative effects on the design of your shop and that your shop provider does not provide support for this. Please read our help article on this topic.
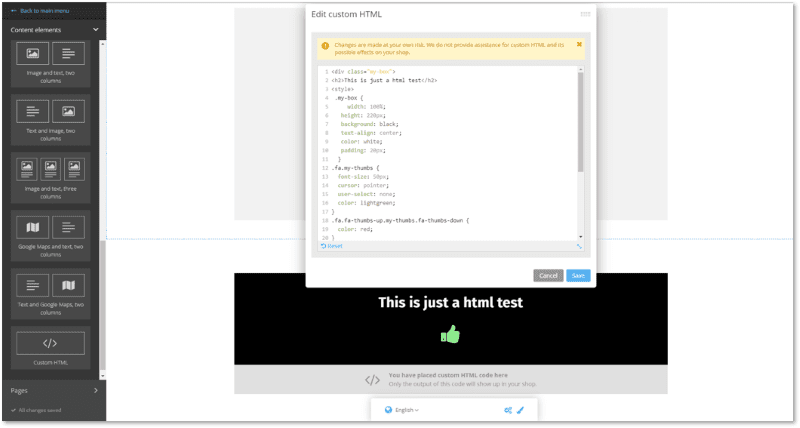
Adding custom HTML in the editor
Custom HTML
It is now possible for you to insert your own HTML code on the content and category pages as well as on the start page of your shop. For instance, with the help of IFrames you can display any content from the web in your shop or use anchor links to link to a certain part of a page. Here, too, the following applies: Inserting your own HTML code can lead to errors. You can find more information on this topic in our help center.
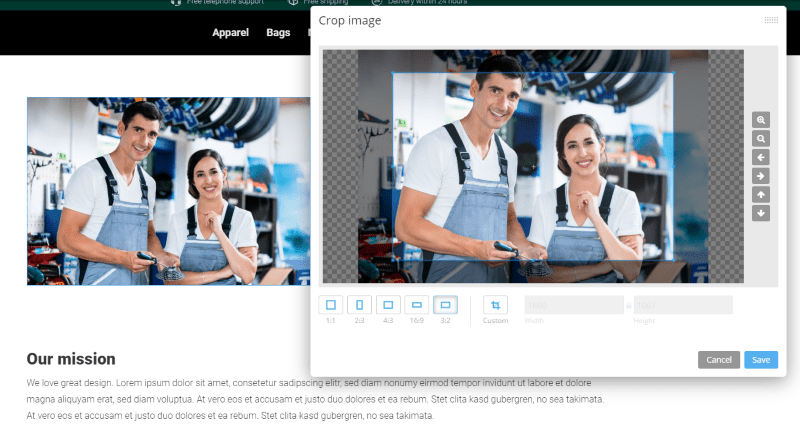
In the editor you can crop images easily
Image editing directly in the administration area
To edit images, merchants usually use image editing programs such as Photoshop or Gimp. Now you can also edit images directly in the editor of your shop. This applies to content elements such as “image, single-column” or “image and text, two-column”. For example, you can change the image section, zoom in and out of the image or change the aspect ratio. The latter is particularly useful if you would like to display several images next to each other and want them to have the same format. You will find instructions for this in our help article.
Duplicating pages
Last but not least, a small but very useful improvement: You can now copy existing content pages of your shop and thereby don’t have to re-create that content from scratch. This can save you a lot of work when creating new pages.
Video tutorials on design and content
Are you interested in basic information about design and content in ePages Now? In our video tutorials, you’ll learn everything that beginners should know.
ist Product Owner bei ePages.



Leave a Reply
Want to join the discussion?Feel free to contribute!