
Just in time for the festive season: New features for the Editor
Autumn is not just about crisp walks, cosy scarves and pumpkin recipes – it’s also when online retailers gear up for the busy end-of-year trading period. Stock levels need to be checked, seasonal items should be ready to go, and your shop pages deserve a refresh to showcase your range in the best possible light.
As there is little time for design adjustments in the hectic weeks towards the end of the year, we are taking this opportunity to briefly introduce some new features for the ePages Now Editor to help you create eye-catching, tailored pages in no time.
All new features will be available for all shops throughout November.
1) Showcase logos beautifully with the new Logo gallery
The new Logo gallery content element lets you display logos in a clean, attractive way in your online shop. It’s perfect for presenting the brands you sell or the payment and delivery providers you work with in a visually appealing way — helping build trust with your customers.
You can also use it creatively, for example, to highlight special offers or spotlight particular brands. Each logo can be linked to a relevant page, giving your customers a smooth navigation experience.
![]()
The new content element works much like the existing Image Gallery. You can upload multiple logo images at once or select from the Unsplash image library. Each logo can be edited and resized individually, with control over spacing and layout — all directly in the Editor.
Learn more in the Help Center under Display brand logos with the logo gallery.
2) Create professional banners in minutes
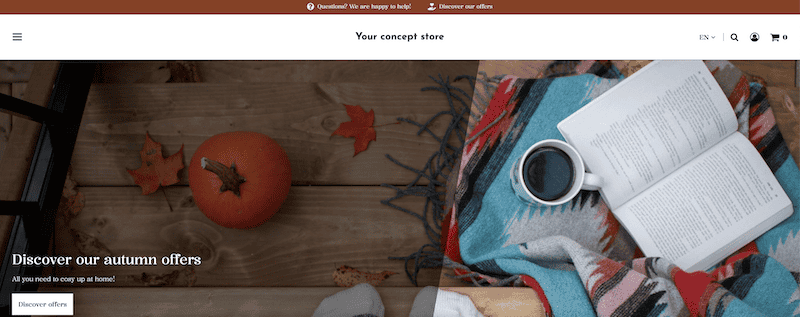
You may remember the term from our blog article 5 design ideas to give your shop a fresh look – many retailers and website operators are currently following the “hero image” trend. This web design term refers to a large banner at the top of the home page that immediately captures visitors’ attention and sets the tone for the shop or website.
To help you make even better use of this trend for your shop, you can look forward to the new Banner image content element. Unlike the image slider, this new content element gives you more design flexibility — you can add modern text overlays and attractive visuals without leaving the Editor.
It’s ideal for your marketing campaigns: announce Christmas sales, highlight seasonal promotions, or feature limited-time offers with just a few clicks.
Once the new element is live, you’ll find it under “Banners” in the Editor sidebar.
3) More flexibility for your content elements
Over the past months, we’ve enhanced and refined many content elements in the Editor, giving you numerous new options when preparing your shop content for the festive season.
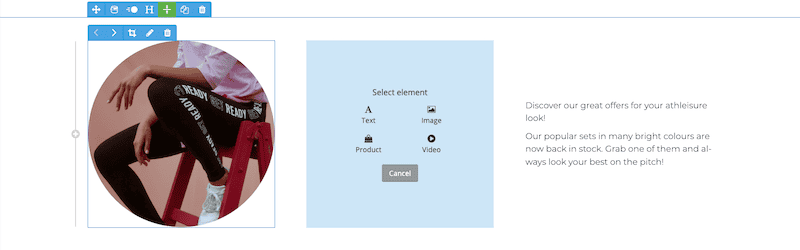
You can now combine and rearrange different components — such as images, videos, or products — in any order you like Add or remove elements freely to design content that fits your needs. This allows for maximum flexibility to design and update your shop content.
Hovering over an element will highlight available options in blue, making editing intuitive and quick.
A few additional features also make it easier to achieve the perfect layout:
Background colours and gradients can now extend across the full page width or align with the content area.
Content in a content element can now be centred vertically. Previously, in content elements with several individual elements, such as “image and text”, all elements were automatically aligned at the top. Now you can decide whether you want them to be centered instead. Depending on the shape of your images and the length of your text, this allows for a more harmonious layout of your content.
If available for a content element, you will find these options in the blue toolbar that appears when hovering over an element.
Learn more in the Help Centre, under Edit content elements.
4) Add colour to your USPs
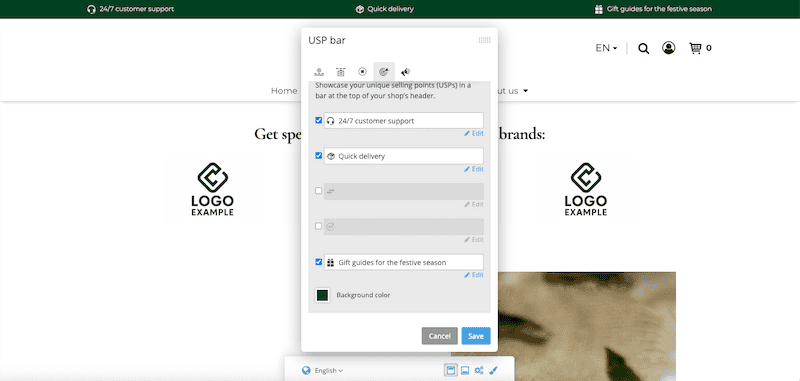
A small but handy update awaits in the USP bar settings in the footer of the Editor. Previously, the USP bar, which you can use to highlight your unique selling points, automatically used your theme’s default colour palette.
Now, you can choose any colour you like — similar to the announcement bar — making it easier to match seasonal designs. For example, you might switch to a festive red or green during Christmas or bright pastels for spring promotions.
arbeitet in der technischen Redaktion von ePages.
This post is also available in: